Designing for How We Learn: Classrooms
This series of articles on designing spaces for learning has focused on the central idea of “See + Hear + Do = Remember.” This article focuses on active learning design for small and medium classrooms.
See
Generally, classrooms are sized in a building program based on a station size per student. For many classrooms built in the ’50s, ‘60s and ‘70s, this station size was often 12-15 square feet per student. The standard room configuration was rows of tablet armchairs facing the front of the room, toward the professor and a blackboard.
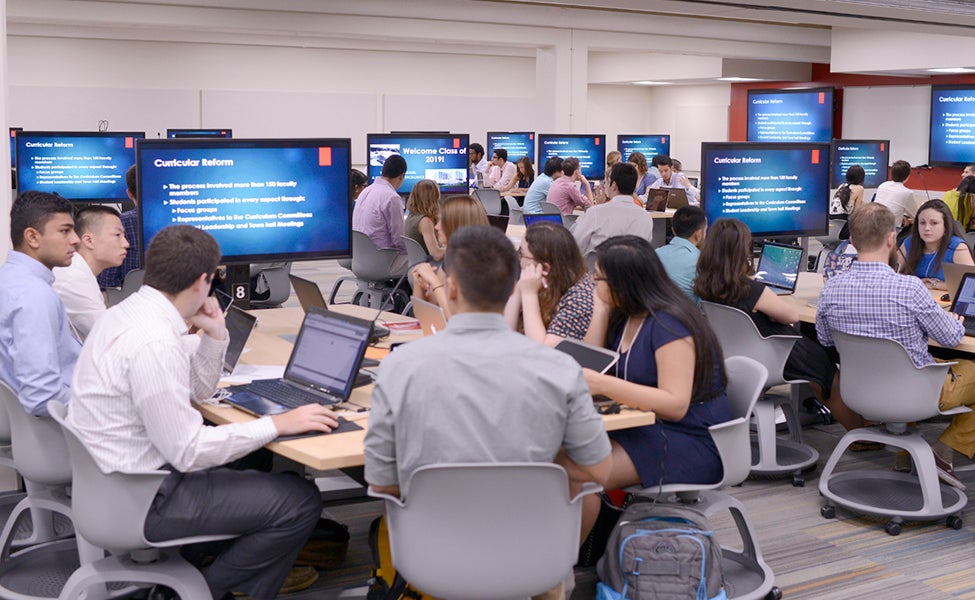
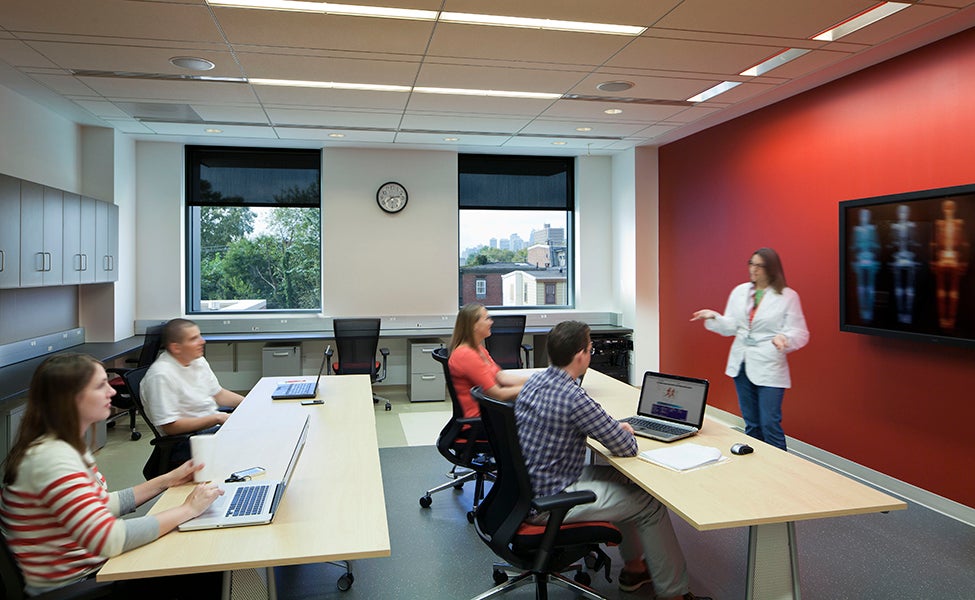
Today, most students bring an electronic device to class, and many use the device to take notes. Technology for the instructor includes a computer, projector, often several monitors and a whiteboard or blackboard. They deliver some conceptual discussion from the front but then move around the room as students work together on an activity to master the concept they just saw and heard. The room is often set up with moveable tables and chairs to allow flexibility in working together in different groups and team configurations.
With the conversion to “active learning” mode, the station size per student must accommodate flexibility in configuration; station size can range from 25-35 square feet per student, depending on the furniture and configurations desired. The designer has to take that space allocation and turn it into a classroom shape that allows optimal sightlines.
When dimensioning a classroom or teaching space, the best rule of thumb to produce both good sightlines and efficient layout is as follows: the space needs to be slightly rectangular but NOT long and narrow. If X = 1, then Y should = 1.2 ideally, and no more than 1.5. Screens should be as large as possible, and twice the screen's height should be maintained between the screen and the first row of chairs (and eyes).
Hear
Maintaining an optimal proportion helps achieve acoustical goals for the best learning environment. The size of the room and the desk arrangement play a significant role in room acoustics, which is critical for students to hear and understand presented material. Classroom lectures are often broken up by different activities that engage students. The flexibility of seating arrangements in an active learning classroom also invites the professor to walk around the room, engaging with students and embracing additional pedagogical tools.
Do
A variety of methods can ensure student engagement in a classroom environment. Short writing breaks during a lecture can help students crystallize what they really get and where they’re still unsure. Peer explanation and self-explanation —when all learners put what they have learned into their own words — are oral ways of accomplishing the same goal. Using technology, the instructor can pose questions and have students vote, with software such as Poll Everywhere allowing everyone to see on the screen instantly if they’ve gotten it right.
Problem-solving, either alone or in groups, means using the concepts they’ve just learned. Getting stuck during the process helps their meta-cognitive understanding: do they really have enough understanding to solve the problem, or what else do they need to know?
Tablet armchairs are often still used in university settings, primarily because they are already there from the past. They are movable and reconfigurable. The question, driven usually by budget, is why not use them for active learning? It is true that students can pull tablet armchairs around to get into groups. However, the tablet is, by its nature, a separator. Each student has his own surface, angled to make writing easier. The ability to share information across a flat surface is not there. Students can’t put their laptop down flat to share with others. Further, they are clunky and usually difficult to move, and thus are left untidy at the end of class. Once a university has engaged in a program to promote active learning classrooms, tablet armchairs can be an acceptable stop-gap, but there must be other ways for students to share information as they are working together.
Hands-on application of skills is another pedagogical tool. This has always been the primary idea behind science and engineering instructional labs. Students go to lecture to get the concepts, and then go to lab to apply them. Classrooms that are designed for active learning provide good sightlines and good acoustics. They contain flexible furniture that can be moved around and technology to allow sharing of information. They assume that the instructor will move about the room to monitor the group work the students are doing. These are the tools of the trade for active learning.
Read more from Kim's Designing for How We Learn series.
- How We Got Here
Our education team is constantly studying how we learn and how that informs how we think about designing space. - One Simple Mantra
"See + Hear + Do = Remember" is the mantra we apply when designing educational spaces. In this article, we explore each step in the process. - Lecture Halls
Applying the "See + Hear + Do = Remember" framework to lecture halls requires some exploration into how they will be used. - Maker Spaces and Instructional Laboratories
Maker spaces and instructional laboratories inherently support active learning. We explore the variety of maker spaces and teaching labs and how we can design the most useful and creative spaces.


